The supplies I used were:
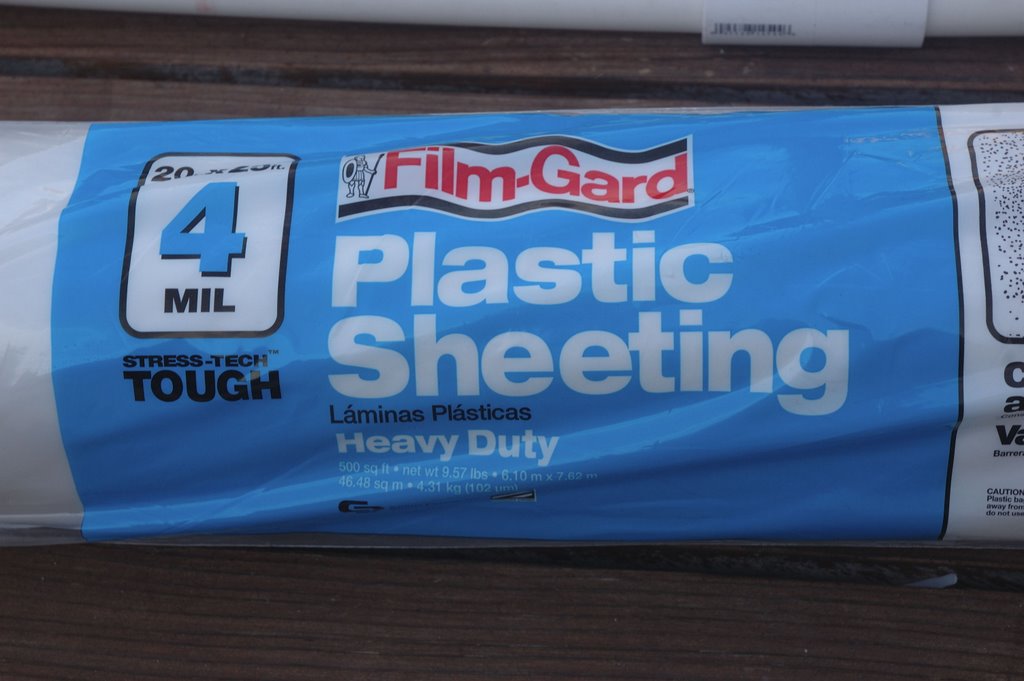
- 1 - 20' x 25' - 4 mil plastic sheeting (note: this year I'm going for 5 mil)
- about 50 snapclamps
Snap clamps, pictured below, are these need litte device that are used to clamp tarp and plastic sheeting to pvc pipe.

So, before you unroll your huge plastic sheet makes sure you either have a non-windy day or a buddy. The thing will blow around and you'll never get that big thing onto you frame.
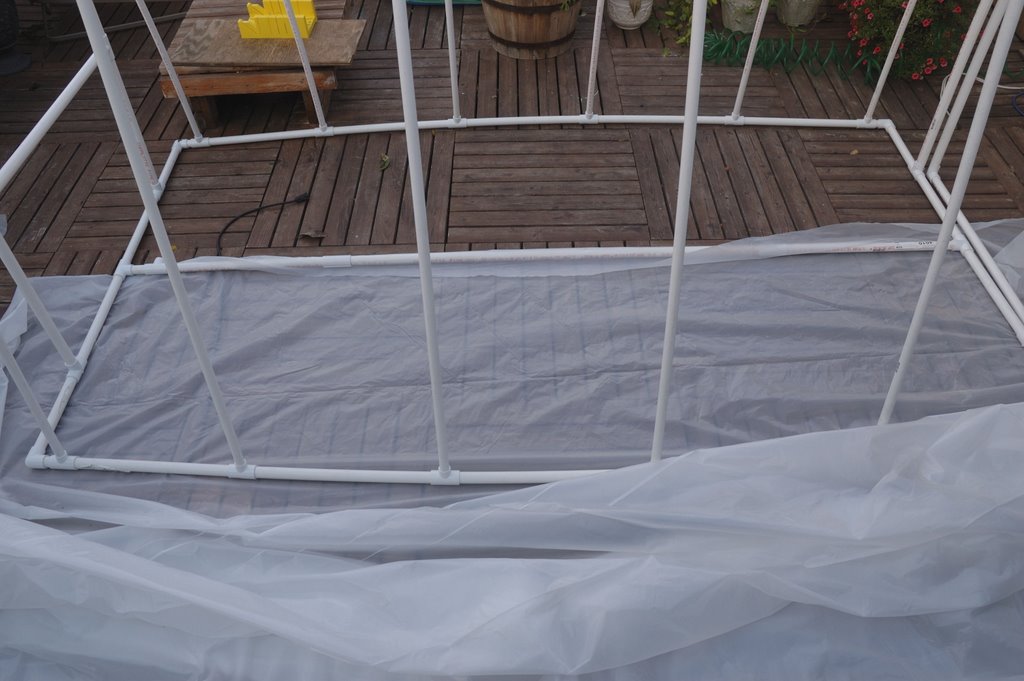
Open up your tarp. Take one edge and insert it under the greenhouse to the half point. Now take the tarp and roll it up one side of the green house, over the top and back down the other side.Tuck the edge under the greenhouse. Have the two edges meet in the middle under the greenhouse.
You now have the plastic sheeting forming a big tube around the greenhouse with plenty of slack on both ends. You can now attaching the plastic sheet to the rib poles using the correct sized snapclamps. You can place about 3 per rib. Start by the door, completing and entire pole on ight then left, and work your way back. Two important tips: First, if the tarp is too tight applying the snapclamps can tear the plastic. The tarp has to be loose enough that is can wrap around each rib then add the clamp. The second is that winter winds will put stress on you sheets where they meet the clamps. Consider adding a small patch of duct tape to the sheeting where it meets the clamp. (I have never done this but will for this winter)
Now, you have to wrap the end of the trap around the frame. This takes a bit of creativity but is like wrapping a giant birthday present where the tarp is wrapping paper. Standing outside the greenhouse, I took all the excess tarp from the right side and wrapped it around the rear until it met the the leftside. Now bring the left excess over to the right. make sure the trap is alway laying in such a way that rain will run off, and not into, the folds of your tarp. Secure the sheeting strategically with more snap clamps. Tuck the extra at the bottom under the greenhouse and also secure with snapclamps.
The method above gives you overlapping layers of plastic sheeting. Not as pretty as if you cut the sheet to fit perefctly but it lasted all winter and was quite air tight.
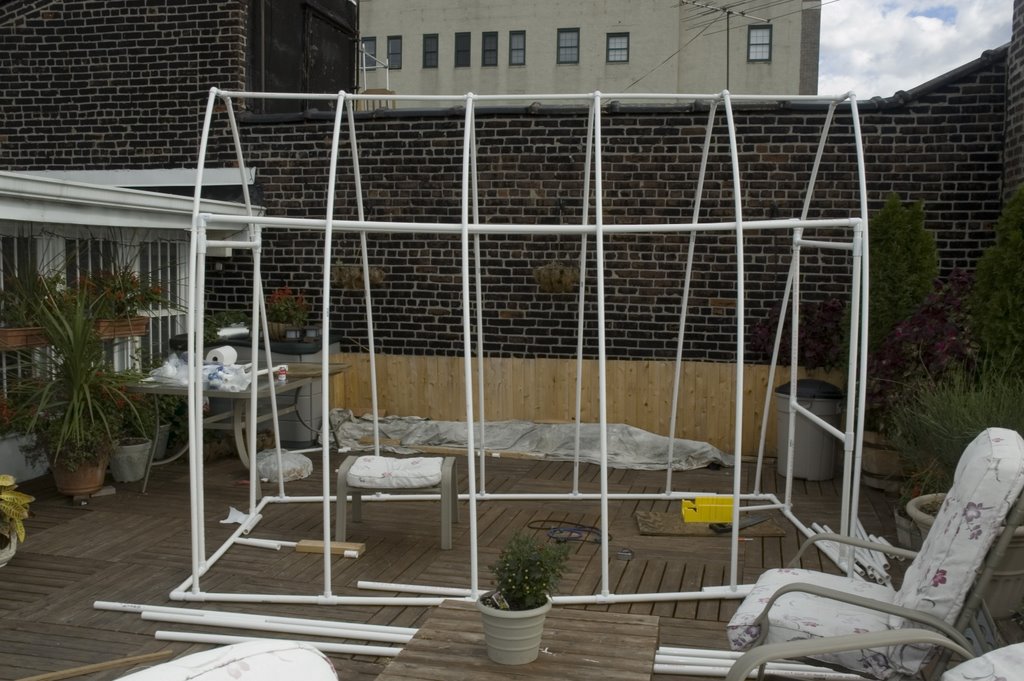
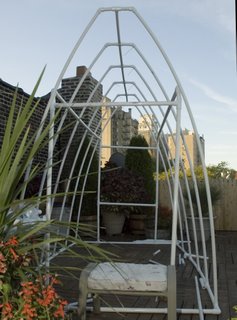
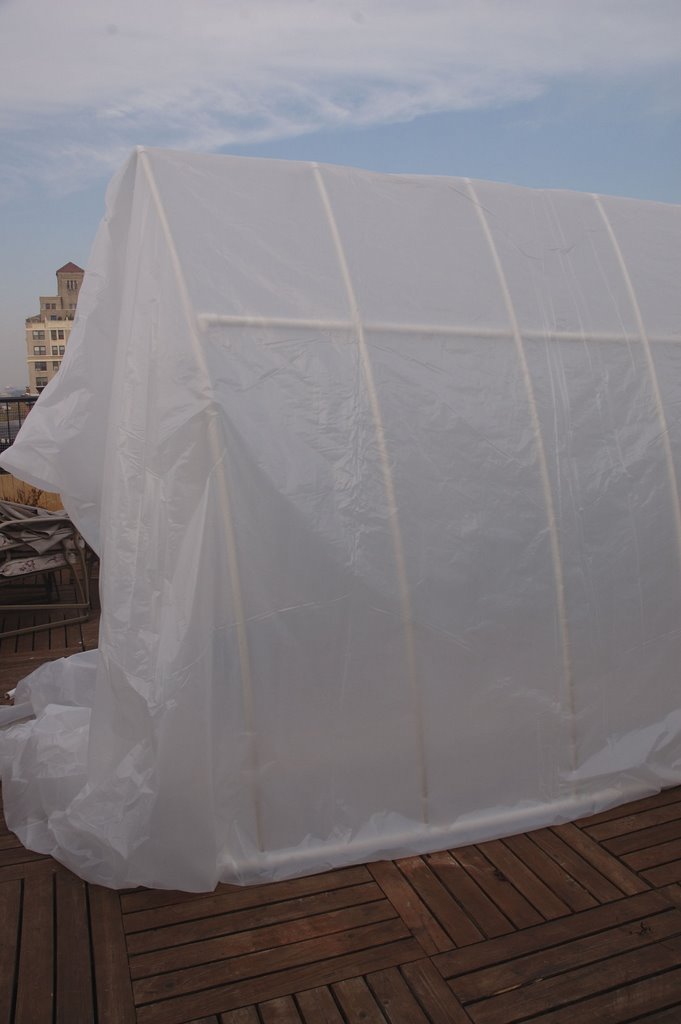
Take your time and you'll end up with something like this:
(Nice picture...right? truth is, that sheet is wrapped a bit to tight and did not leave enough slack around the snap clamps. I has plenty of tearing that year and learned to leave the sheeting a little more baggy)
Tags: greenhouse, pvc, roof deck